Collector guide
Pokemon Card Grading Checklist: 8 Steps Before You Submit
A step-by-step Pokemon card grading checklist: centering tolerances, corners, edges, surface checks, Pokemon-specific flaws, and when grading isn't worth it.
By Matteo G.
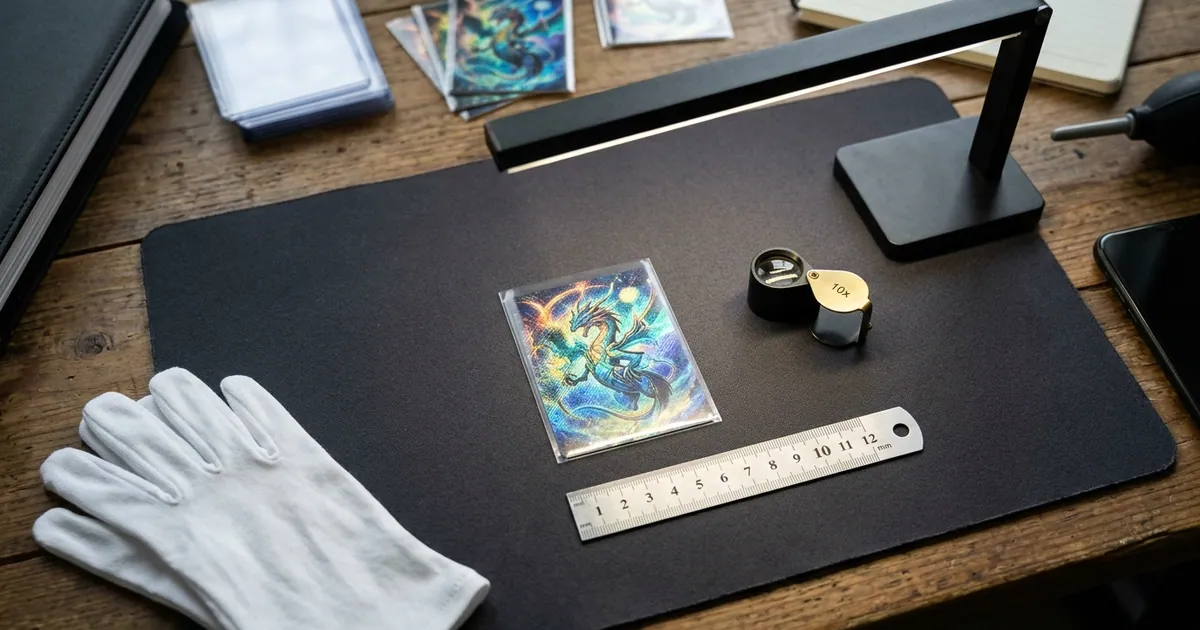
A Pokemon card grading checklist is a fixed inspection routine you run on every card before paying to submit it: confirm identity, measure centering, check corners, edges, and surface under angled light, then do the value math. Done with a loupe, a ruler, and a decent light, it catches most of the flaws that separate a 10 from a 9 or an 8, and it tells you which cards should never leave your binder. Below is the exact order, the published centering tolerances, and the Pokemon-specific defects to watch for.
Key takeaways
- Inspect in the same order every time: identity, front centering, back centering, corners, edges, surface, structure, value.
- Centering is the fastest disqualifier. PSA’s published Gem Mint standard is roughly 55/45 to 60/40 on the front and about 75/25 on the back, so measure before you fall in love with a card.
- The dark blue Pokemon back is unforgiving. Tiny white chips on back edges and corners are visible to graders and will cost you points.
- Holo and full-art surfaces hide scratches and dents in normal light. Use a raking light and rotate the card through all four orientations.
- If the realistic graded value does not clearly beat raw value plus all-in costs, do not submit.
What to have on the table before you start
You do not need a lab, but you do need consistency. Lay out:
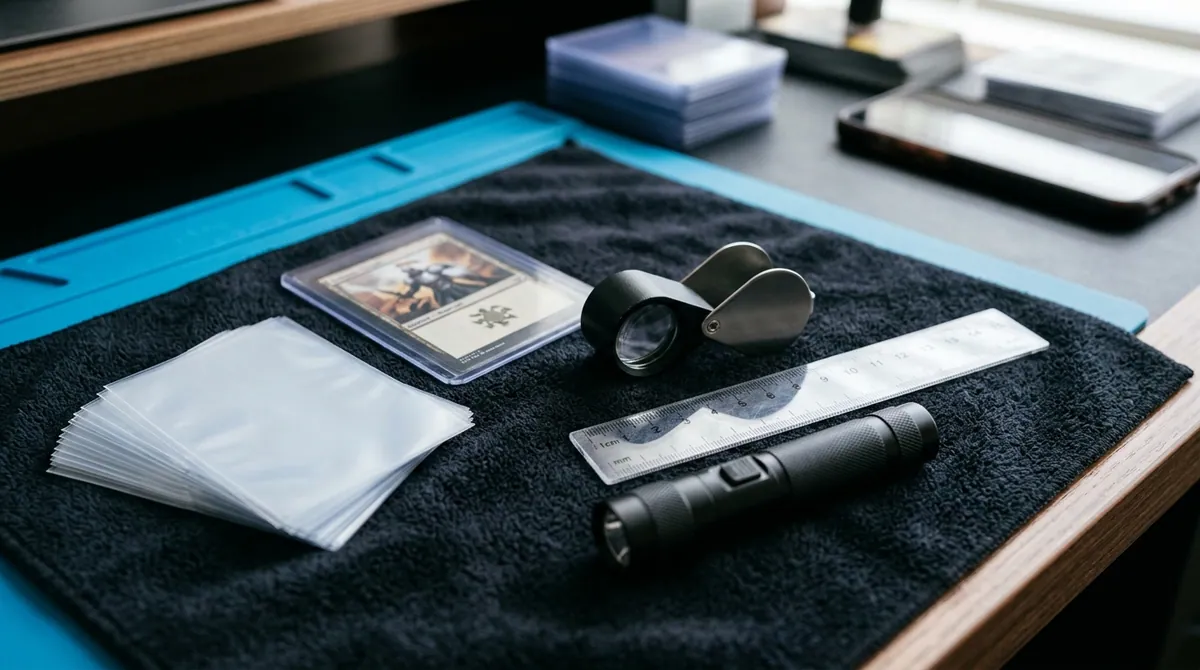
- A 10x jeweler’s loupe. Phone zoom works for a quick look, but a loupe shows corner fraying and print dots far better.
- A clear millimeter ruler or a centering tool. Millimeters, not sixteenths of an inch, make the ratio math easy.
- A daylight-balanced LED (roughly 5000K to 6500K). A small flashlight or a desk lamp on a gooseneck works. You want to be able to hold it at a low angle.
- A dark microfiber cloth as a work surface. It shows whitening on edges and keeps the card from picking up grit.
- Fresh penny sleeves and semi-rigid holders for anything that passes. Most graders, PSA included, ask for semi-rigid holders rather than screw-downs or toploaders; check each company’s current packing instructions.
- A notepad or spreadsheet to log your findings per card. Writing it down stops you from rounding up.
Wash and dry your hands first. Skin oil leaves haze on holo surfaces that you will then misread as a surface flaw.
The step-by-step Pokemon card grading checklist
Run these eight steps on one card at a time, with the card in hand.
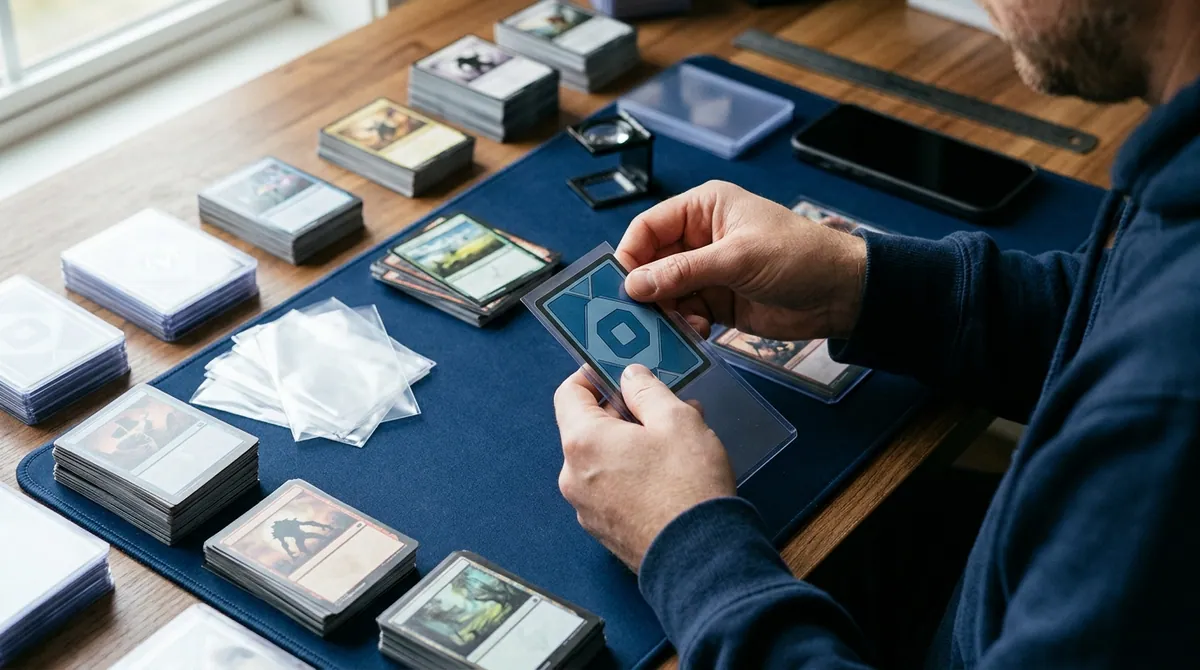
Step 1: Confirm the card is what you think it is
- Identify the exact set, number, and variant: 1st Edition, Shadowless, Unlimited, reverse holo, stamped promo, or regional print. Graders label variants, and you price against the right one.
- Compare it with a known-genuine card from the same era. Look at font weight, energy symbol shapes, the tone of the blue back, and the holo pattern.
- Under the loupe, genuine cards show a crisp, regular printed dot pattern. Blurry, smeared, or flat-looking print is a red flag.
- Check size. Standard Pokemon cards are 63 x 88 mm (2.5 x 3.5 in). A card that is noticeably narrow or short on one side may be trimmed. Graders typically return suspected trimmed or altered cards without a numeric grade, and you still pay the fee.
Step 2: Measure front centering
Measure the left and right borders at the same height, then the top and bottom borders. Divide the larger border by the total of both. Example: left border 2.2 mm, right border 1.8 mm. Total is 4.0 mm, and 2.2 divided by 4.0 is 55 percent, so that axis is 55/45.
Check both axes. A card can be perfect left-to-right and 70/30 top-to-bottom, which is a common modern miscut pattern. On full-art and illustration-style cards, measure the thin outer border consistently to the same frame line. Our card centering guide walks through tricky layouts.
Step 3: Measure back centering
On the Pokemon back, measure the dark blue border around the swirl design on all four sides. Back tolerances are looser than front tolerances, but they are not unlimited. A back that is visibly lopsided at a glance is probably past 75/25 and will hold the grade down.
Step 4: Inspect all eight corners
Four corners on the front, four on the back. Under the loupe, look for:
- White specks or whitening, which shows up most on the blue back
- Softening or rounding, where the corner is no longer a sharp point
- Fraying or tiny layered splits at the tip
- Small dings from a toploader or binder ring
One soft corner usually rules out a 10. Two or more visible issues usually point to an 8 or lower.
Step 5: Inspect all eight edges
Hold the card at eye level and slowly roll it under the light so each edge catches it. On the back, any white chipping against the dark blue is easy to spot. On the front, look for rough or wavy factory cuts and, on modern foil cards, silvering, where the foil layer shows as a bright line along the cut edge.
Step 6: Check the surface under raking light
This is where most hidden flaws live. Hold the LED at a low angle, roughly 30 to 45 degrees off the surface, and tilt the card slowly. Then rotate it 90 degrees and repeat until you have checked all four orientations, front and back.
Look for:
- Fine scratches on holo foil, which often appear only at one angle
- Print lines running straight across the card
- Dents and indentations, including fingernail marks; watch the reflection of your light source on the surface, because a dent bends the reflected line
- Fingerprints, haze, or residue
- Ink spots, missing ink, or color specks
- Surface creases, which show as a fine line that catches light differently
Step 7: Check structure
Lay the card flat on the table and look at it from the side. Note any warp, curl, or bend. Then hold it to the light and check for creases that do not show from the front. Any crease, even a faint one, usually caps a card well below mint.
Step 8: Write down a realistic grade and do the math
Assign an honest grade range, such as 8 to 9, not a hopeful single number. Then look up recent sold prices, not asking prices, at that grade and at raw. Only then decide whether the card goes in the submission pile.
Centering targets by grading company
This is a working reference. Grading companies revise their standards from time to time, so confirm on the official site before you submit.
| Grade | Front centering | Back centering |
|---|---|---|
| PSA 10 Gem Mint | About 55/45 to 60/40 or better | About 75/25 or better |
| PSA 9 Mint | About 60/40 to 65/35 or better | About 90/10 or better |
| BGS 10 Pristine (centering subgrade) | 50/50 one way, 55/45 the other | About 60/40 |
| CGC | Publishes separate Pristine 10 and Gem Mint 10 standards | Check CGC’s current grading scale |
Two things matter beyond the numbers. First, PSA grades holistically, so a card at the edge of the centering tolerance needs everything else to be clean. Second, BGS shows four subgrades, and the final grade leans heavily on the lowest one. A BGS submission with perfect corners and 60/40 front centering will not reach Pristine.
Pokemon-specific flaws graders catch
Pokemon cards have their own patterns of damage depending on era.
Vintage (roughly 1999 to 2003):
- Holo scratches. Older holo foil scratches easily, and many raw holos have light swirl marks from decades of shuffling.
- Edge and corner whitening from play, especially on the back.
- Print defects such as ink dots and light print lines, which were common in early print runs.
- Wax or stain marks on cards that sat in packs or binders for years.
Modern (Sword and Shield era onward and current releases):
- Off-center cuts, often worse on one axis.
- Silvering on the edges of full-art, alternate-art, and special illustration cards.
- Print lines across holo and textured cards.
- Factory dents and surface indentations that come out of the pack that way.
- Curl or warp in foil cards, which can be affected by humidity.
Textured full-art cards deserve extra time in Step 6. The texture can mask a scratch or dent until you hit exactly the right angle. If you are new to modern full arts, spend a few minutes looking at a card you already know is clean so you learn what normal texture looks like.
Also be aware that PSA can add qualifiers such as OC for off-center or PD for print defect to an otherwise high grade. Qualified grades usually sell at a meaningful discount, so a borderline centered card is not a safe bet.
When grading isn’t worth the fee
Grading is a cost, not a guaranteed upgrade. Skip submission when:
- The math does not clear. Graded value at your realistic grade should exceed raw value plus grading fee, shipping both ways, insurance, and marketplace fees, with room to spare. If the only profitable outcome is a 10, you are gambling.
- Your honest expectation is 8 or lower on a modern card. For many recent cards, mid grades sell close to raw prices.
- The card is a variant you cannot verify. Paying to grade a suspected reprint or fake costs you the fee and tells you what a loupe could have told you for free.
- You only want protection. A magnetic one-touch holder protects a personal-collection card for a fraction of a grading fee.
- The fee tier does not match the value. Most companies set service levels by declared value. Fees, tiers, and turnaround times change often, so check the official pricing pages at submission time.
If you are still on the fence, our Pokemon card grading page covers how collectors typically decide what to send.
How to read your checklist results
Treat your notes as a weakest-link system. The lowest-scoring category usually sets the ceiling.
- Everything clean, centering inside the 10 tolerance: a realistic 10 candidate, though graders still find things you missed.
- One minor issue, such as a single soft corner or a faint scratch only visible at one angle: expect a 9.
- Several minor issues or one obvious one: think 8 or below, and run the value math again.
- Any crease, trimming suspicion, or authenticity doubt: do not submit.
Be stricter with yourself than feels comfortable. Collectors almost always grade their own cards higher than the grader will.
Where Card Grading AI fits in your checklist
A manual checklist is the foundation, but it is slow when you have a stack of cards and easy to fudge when you want a card to be a 10. Card Grading AI is built for that pre-submission triage. You photograph the front and back, and the app measures centering and flags corner, edge, and surface issues, then returns a pre-grade estimate you can compare against your own notes. It works on web, iOS, and Android, and you can keep the results in your collection so you know which cards you have already checked.
To be clear, an AI pre-grade is an estimate, not an official grade, appraisal, or guarantee. PSA, BGS, CGC, TAG, and other companies make the final call. What the app does well is help you sort a pile into submit, maybe, and keep raw before you spend money on fees.
See how the analysis works on our AI card grading page, browse the full feature list, and run your next Pokemon card through Card Grading AI before it goes in the submission box.
FAQ
What is the most common reason a Pokemon card misses a PSA 10?
There is no single published statistic, but in practice centering, back-edge whitening, and holo surface scratches are the usual culprits. Measure centering before anything else, because no amount of clean corners can save a card that is outside the front tolerance.
What centering do I need for a PSA 10 Pokemon card?
PSA's published Gem Mint standard calls for roughly 55/45 to 60/40 or better on the front and about 75/25 or better on the back. Grading companies revise their standards occasionally, so confirm the current wording on PSA's official grading standards page before you submit.
Should I clean or press a Pokemon card before grading?
Light dust or a fingerprint can be removed with a dry, clean microfiber cloth. Avoid liquids, erasers, and pressing or flattening techniques. Graders look for evidence of alteration, and an altered card may come back without a numeric grade.
Is an AI pre-grade the same as an official grade?
No. An AI pre-grade from an app like Card Grading AI is an estimate based on your photos. It helps you decide which cards are worth submitting, but only PSA, BGS, CGC, TAG, and other grading companies can assign an official grade.
When is a Pokemon card not worth grading?
When the realistic graded value at your expected grade does not clearly exceed the raw value plus every cost involved: grading fee, shipping both ways, insurance, and selling fees. Many modern cards that would land at PSA 8 or below fall into this category.
Keep reading
Related guides
Ready to inspect your next card?
Scan your cards instantly with Card Grading AI
Capture a clear front-and-back photo, review an AI-assisted condition estimate, and keep standout cards organized in your collection.